The Second Pylon
|
The Second Pylon was constructed but only partly inscribed when Horemheb died, (ca. 1304 BCE). His successor Ramesses I, who founded the 19th Dynasty, then completed the decoration of the Pylon during his brief reign of less than two years. All of this was done only a few years before Sety I built the Great Hypostyle Hall itself. Behind the pylon was a large open courtyard that later became the Hypostyle Hall itself.
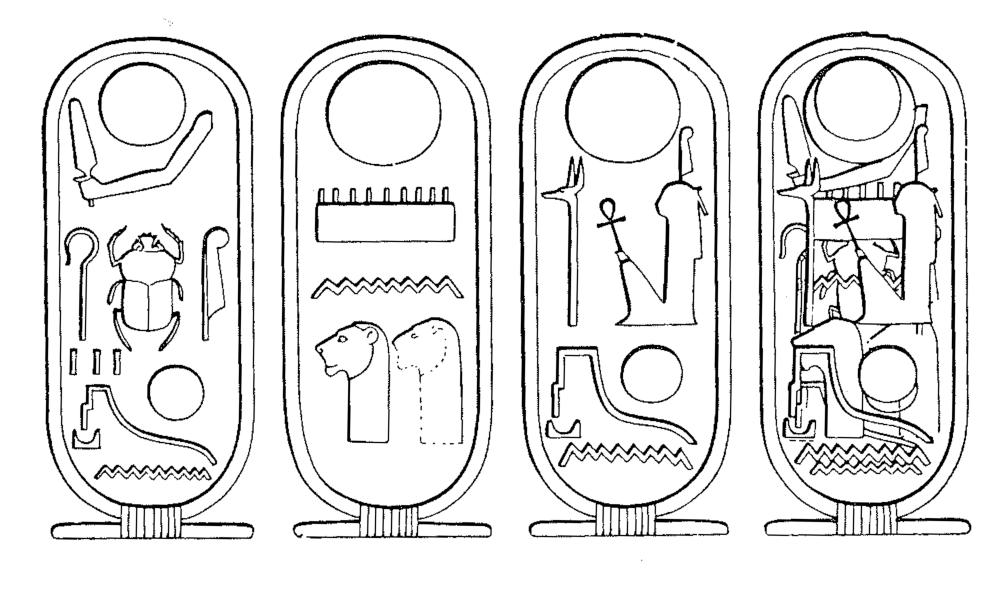
Ramesses I also took credit for Horemheb's work by placing his own name in Horemheb's cartouches. Usurping the names of earlier kings on their monuments became a Ramesside tradition most widely practiced by Ramesses I's grandson Ramesses II
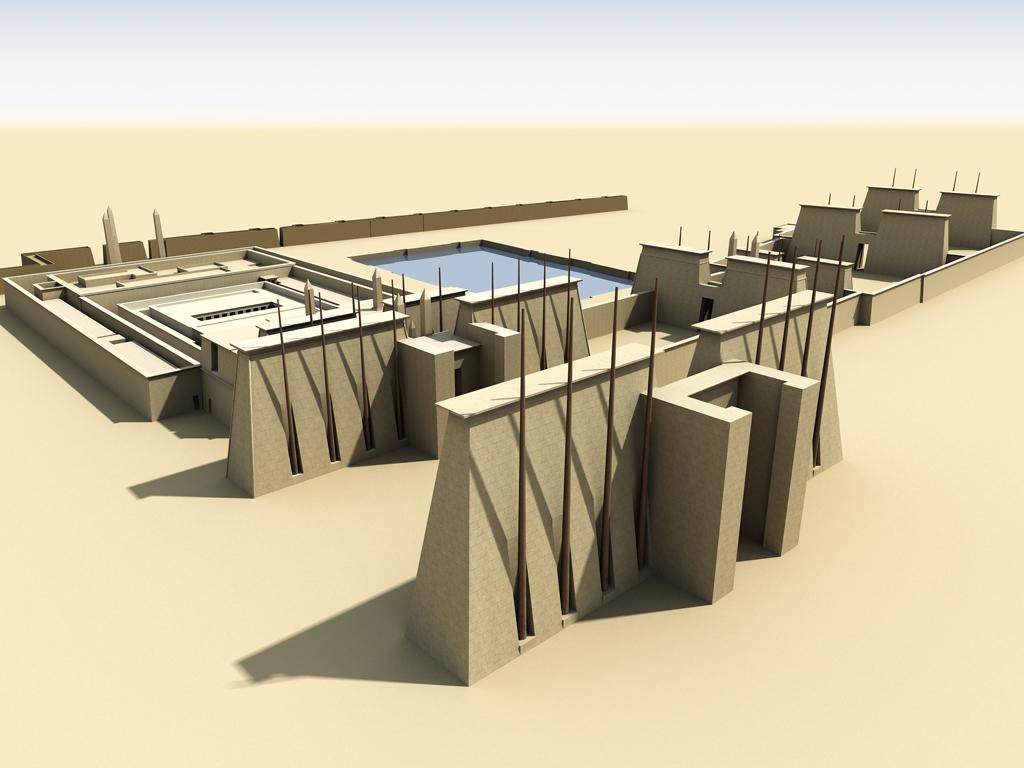
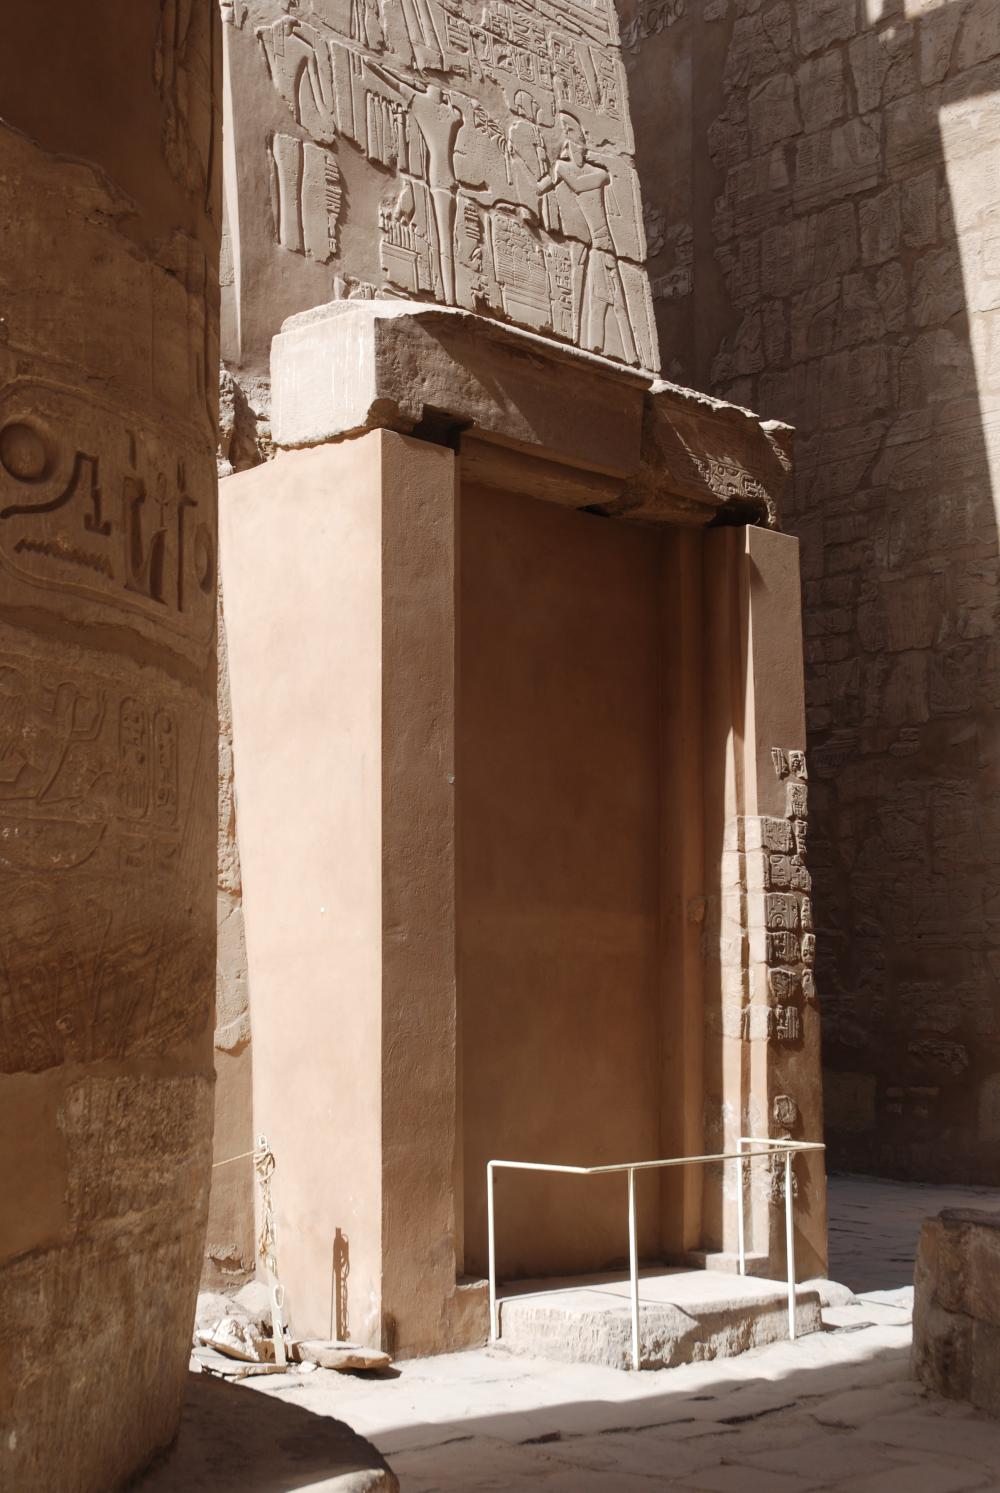
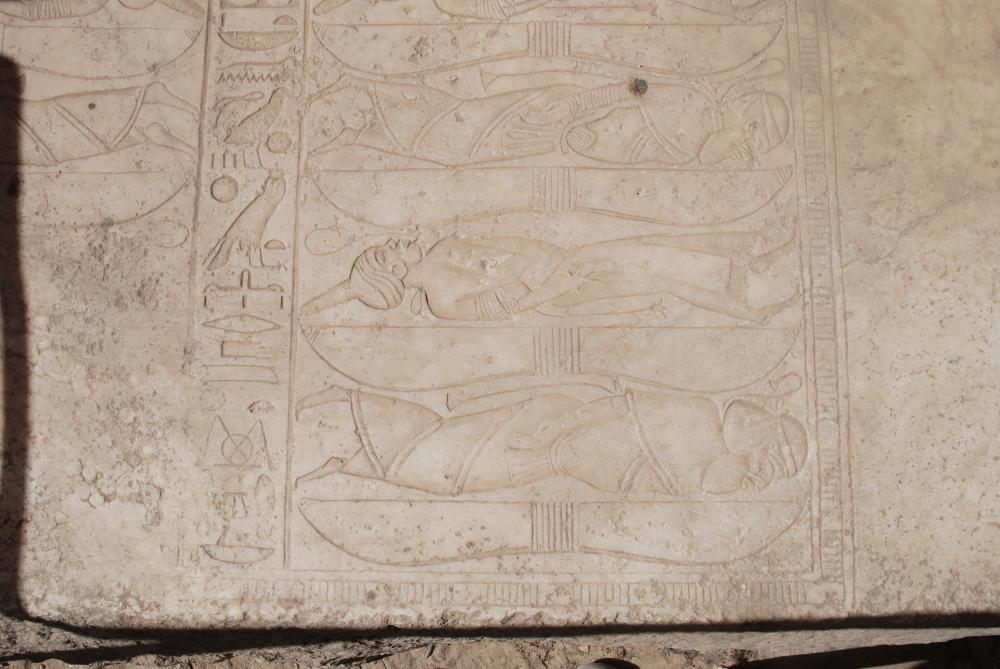
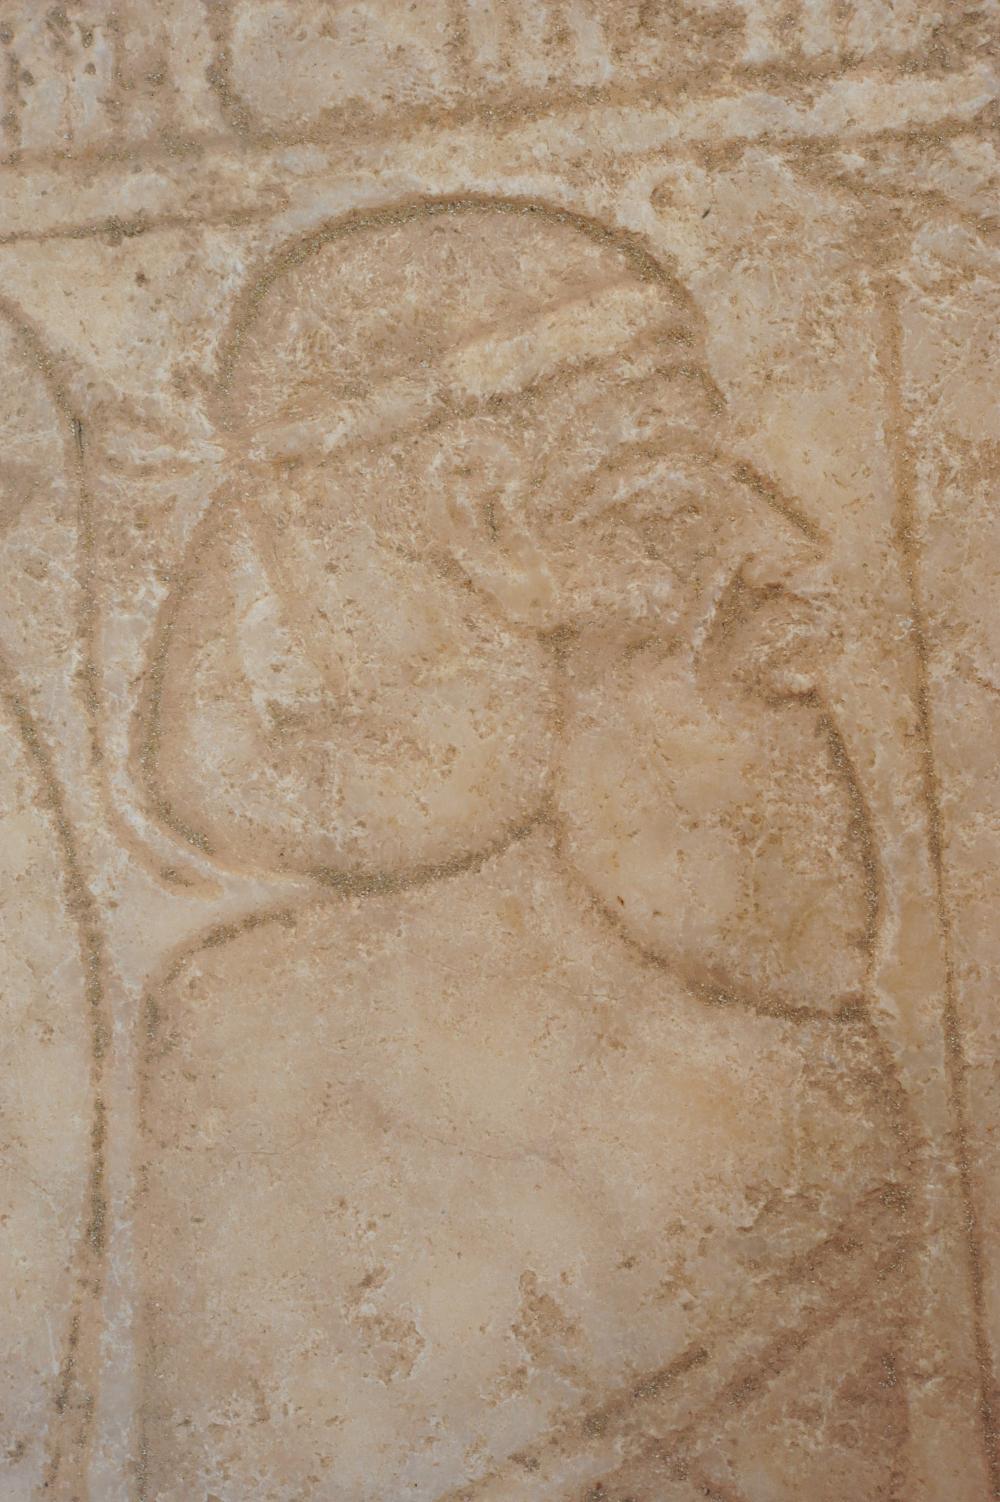
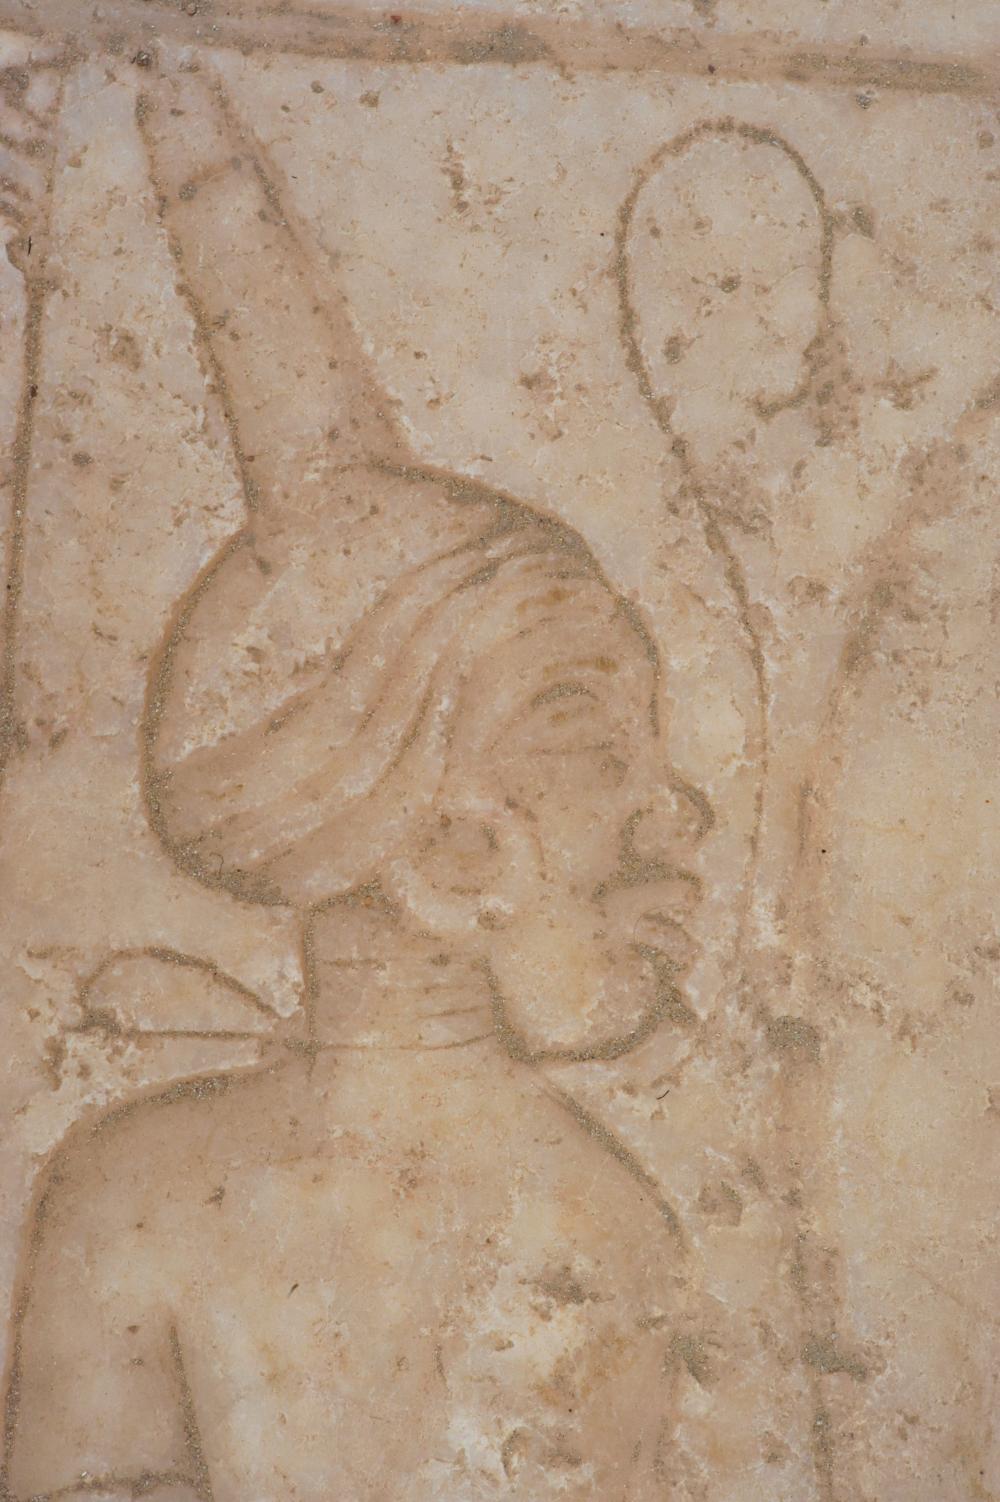
Ramesses I also built two small shrines which abutted the east face of the pylon on either side of the central passageway. Only the southern shrine remains intact. It consists of a kind of tall doorframe made of sandstone with an alabaster plinth at the bottom inscribed with depictions of Egypt's foreign enemies lying bound and helpless on the ground.
This iconography suggests that the shrine may have served as a podium for pharaoh's throne. Here within the great courtyard between the Second and Third Pylon, before the Hypostyle Hall was built, Ramesses I could have appeared in his glory, once as king of northern Egypt and again as king of southern Egypt. Once the Great Hypostyle Hall was built, however, the double row of grand columns in the central nave blocked the view of these two shrines. This is a strong indication that all parts of the Hypostyle Hall, including the twelve great columns, did not exist before Sety I's time. Sety I took the throne ca. 1300 BCE and immediately set to work converting Horemheb's courtyard into the Hypostyle Hall. After Hall was built, Sety faced a dilemma. He was ready to decorate it with reliefs, but the two buildings were now attached to each other, and the rear wall of the Second Pylon had become the west wall of the Hypostyle Hall. It was also covered with reliefs of his father Ramesses I. The existing inscriptions had to go; they were in the wrong style of carving and too large besides. They had to be erased to make way for more appropriate scenes. With a degree of conscience that both his father and son lacked, however, Sety carved some of the new scenes in the name of his deceased father as compensation for Ramesses I's inscriptions which now had to be erased.
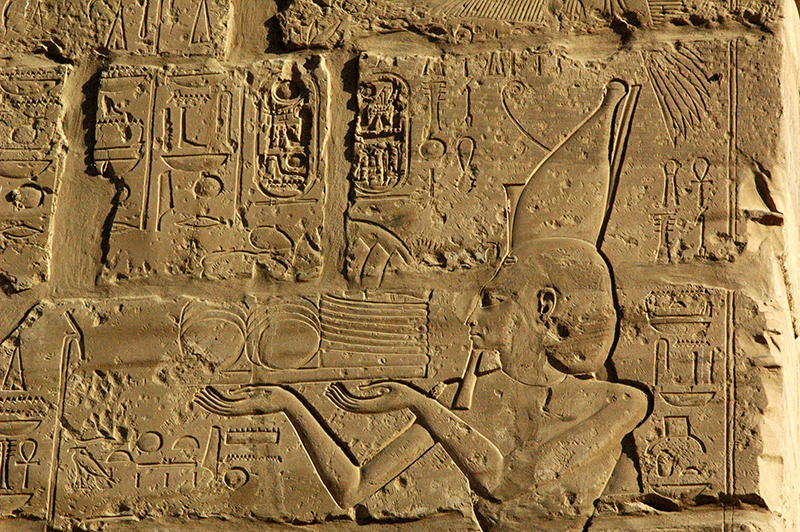
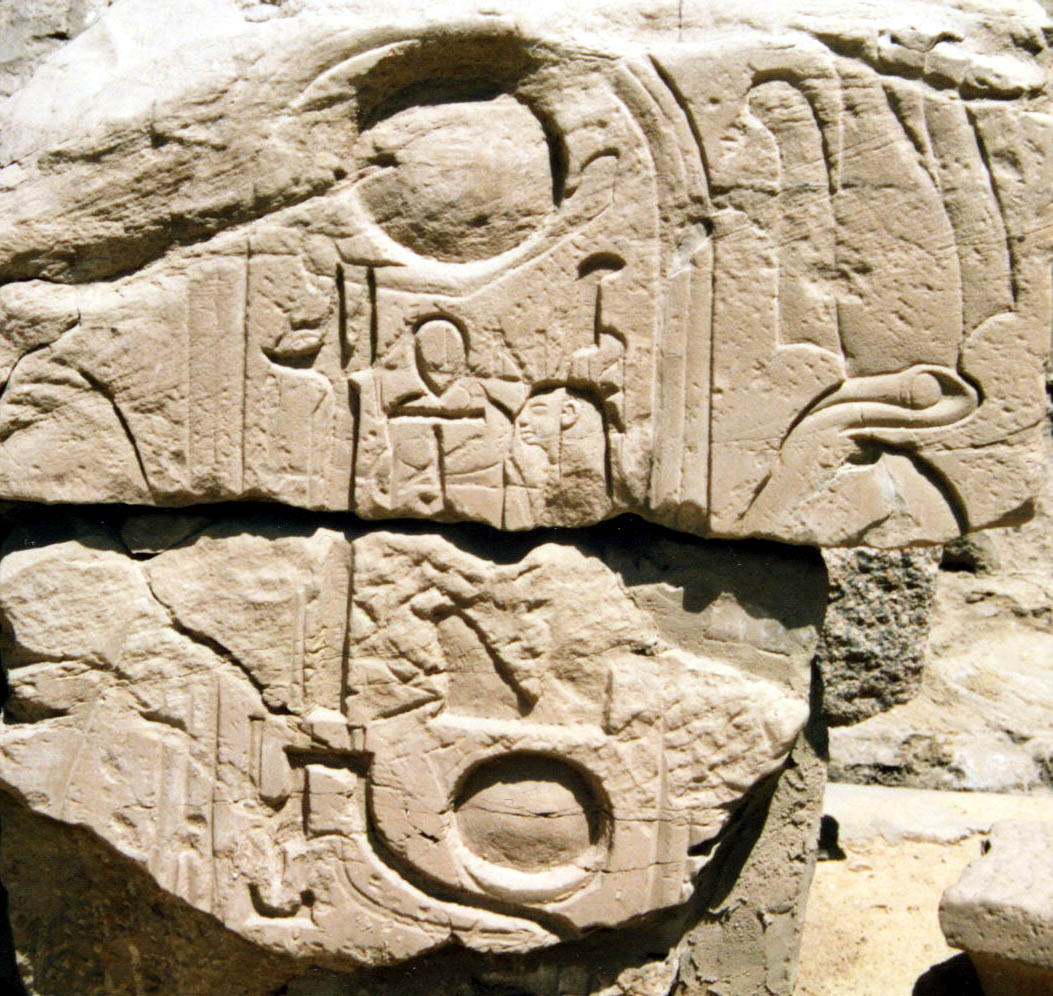
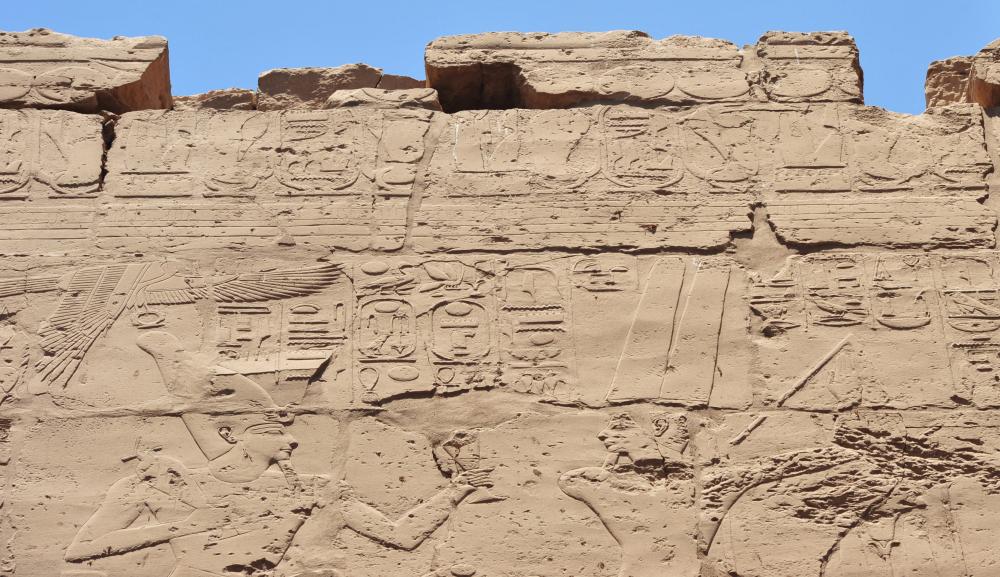
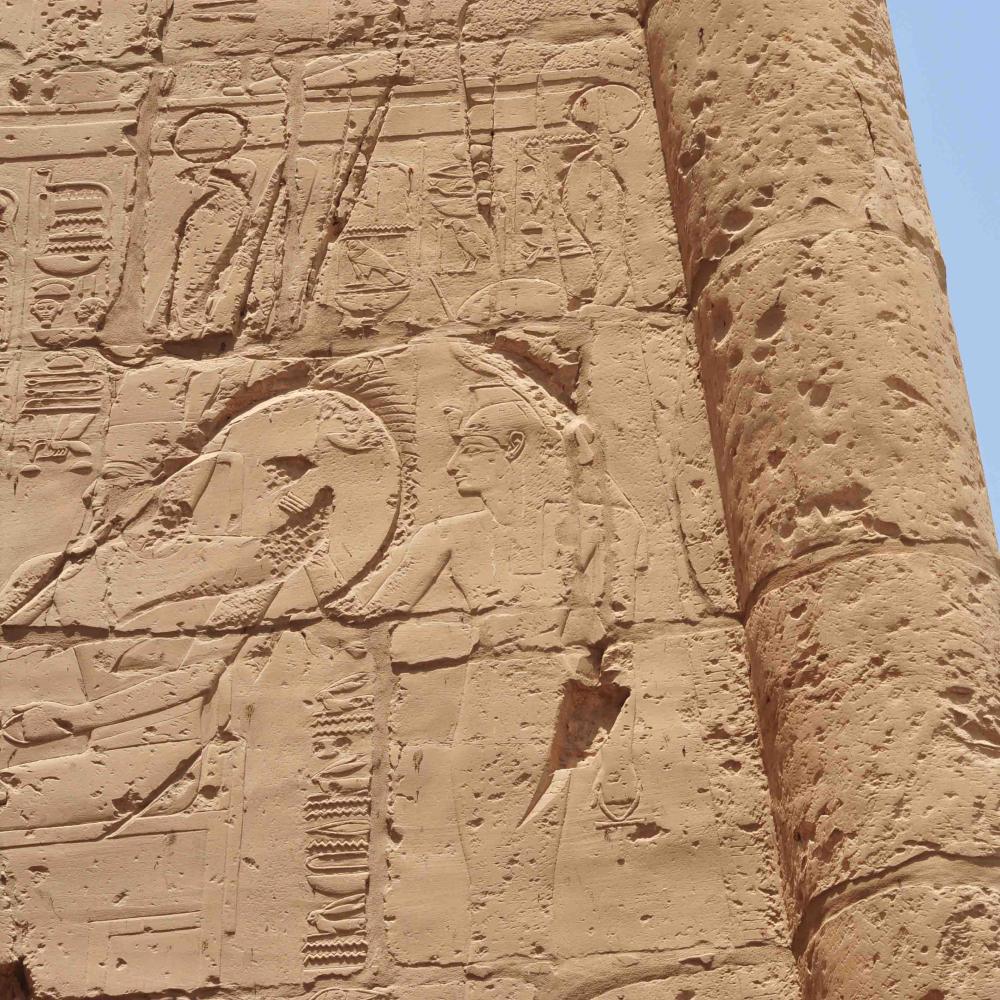
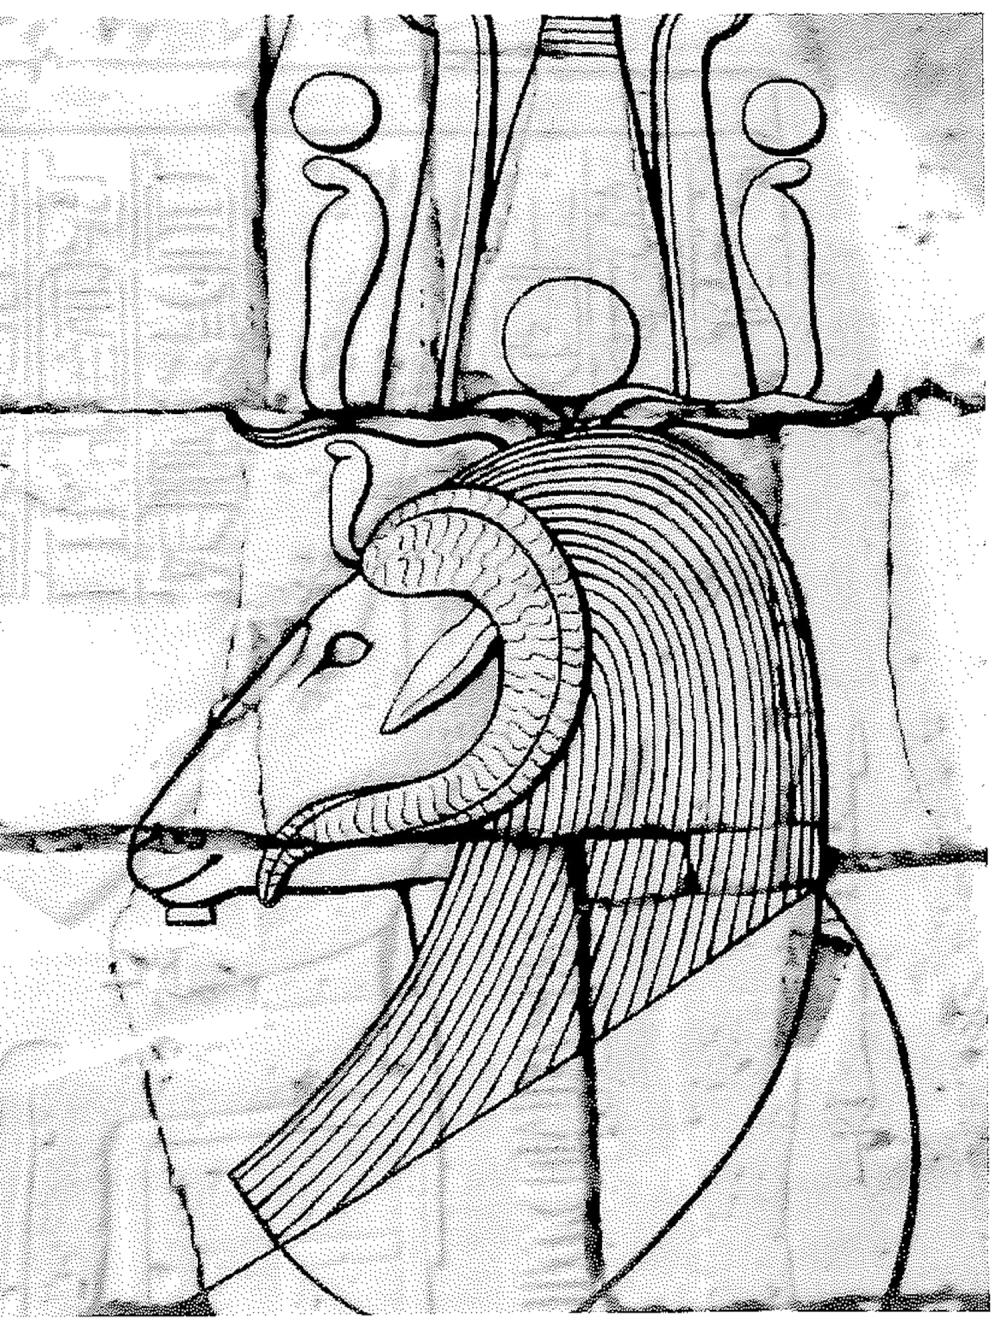
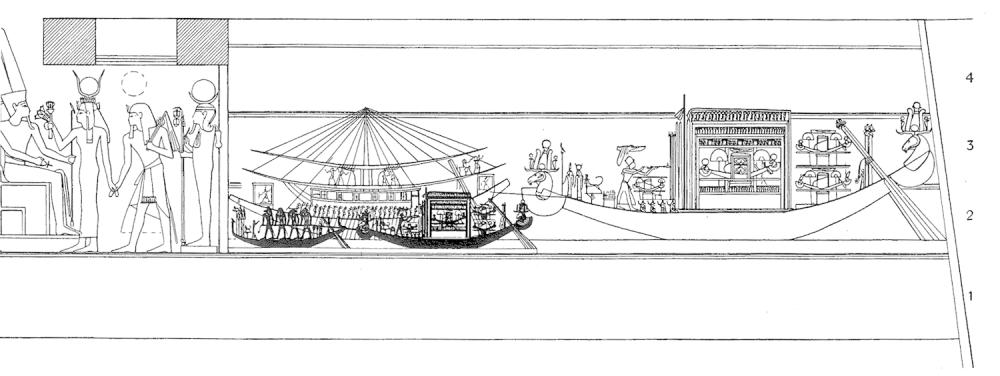
The original inscriptions on the Second Pylon were carved so deep that in places they could not be erased completely. These areas were patched with plaster. The plaster is now gone, and we can see traces of the original scenes behind the lovely bas reliefs of Seti I. Horemheb, (or Ramesses I) had carved a huge scene of the sacred barque of Amen-Re being towed by the king's barge. At the north end of the wall, part of the ram-headed figurehead at the stern can still be made out. The design of this scene imitated the decoration of Amenhotep III on the rear wall of the nearby Third Pylon.
|